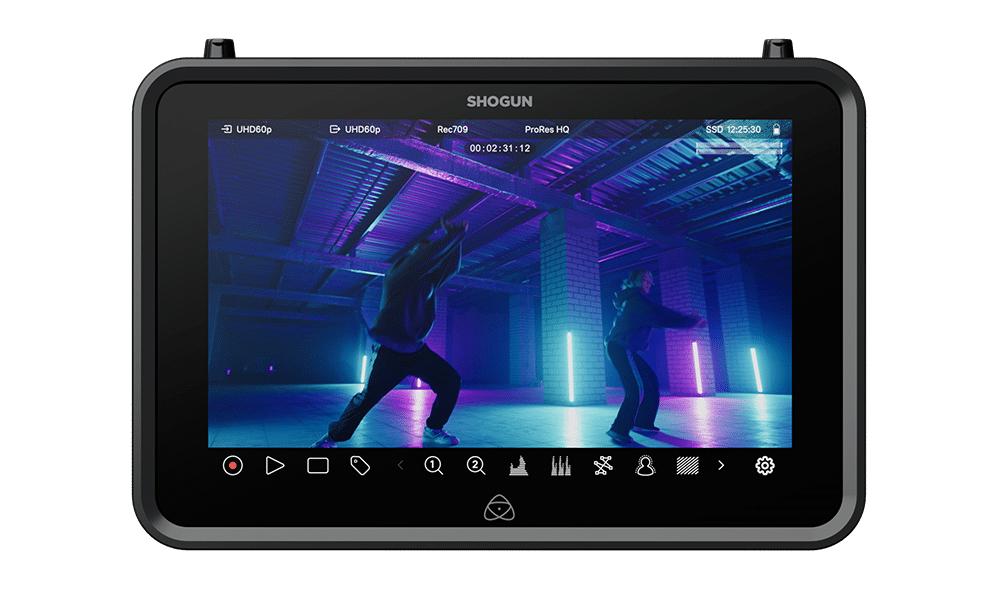
Shogun
7” HDR Video Monitor, Recorder & Streamer
Current Firmware
Upgrading to AtomOS 11.18.00
New Features
Camera to cloud updates:
- Transition Atomos Cloud Studio customers to Mavis Cloud Hub
- Fix some reliability issues with ATOMOSphere and Frame.io uploads
For more information, please refer to the Release Notes for AtomOS 11.18.00.
Firmware Update Procedure:
Atomos recommends that your Shogun is plugged into mains power before commencing the firmware update.
- Insert a compatible, formatted SSD into the Docking Station.
- Unzip the downloaded file and copy the ATOMSGN.FW file to the root directory of the SSD.
- Eject the SSD according to operating system guidelines.
- Insert the SSD into the Shogun.
- Power on the Shogun and the firmware update process will begin automatically.
Note: If your Shogun is already powered on, you will be prompted to perform the firmware update when a drive containing new firmware is inserted. - Once the update is complete, your Shogun will power itself down.
- Power your Shogun back on and the device will automatically complete the update process.
- To verify if the firmware update was successfully completed, navigate to the main menu and scroll to the info tab.
For further information and troubleshooting, click here.
Previous Firmware
AtomOS 11.17.00
AtomOS 11.16.00
AtomOS 11.15.00
AtomOS 11.14.00
AtomOS 11.13.00
AtomOS 11.12.00
AtomOS 11.11.00
AtomOS 11.10.01
AtomOS 11.10.00
AtomOS 11.09.00
AtomOS 11.08.00
AtomOS 11.07.00
AtomOS 11.06.01
AtomOS 11.06.00
AtomOS 11.05.00
AtomOS 11.04.02
AtomOS 11.04.01
AtomOS 11.04.00
AtomOS 11.03.00
AtomOS 11.02.01
AtomOS 11.02.00
Resources
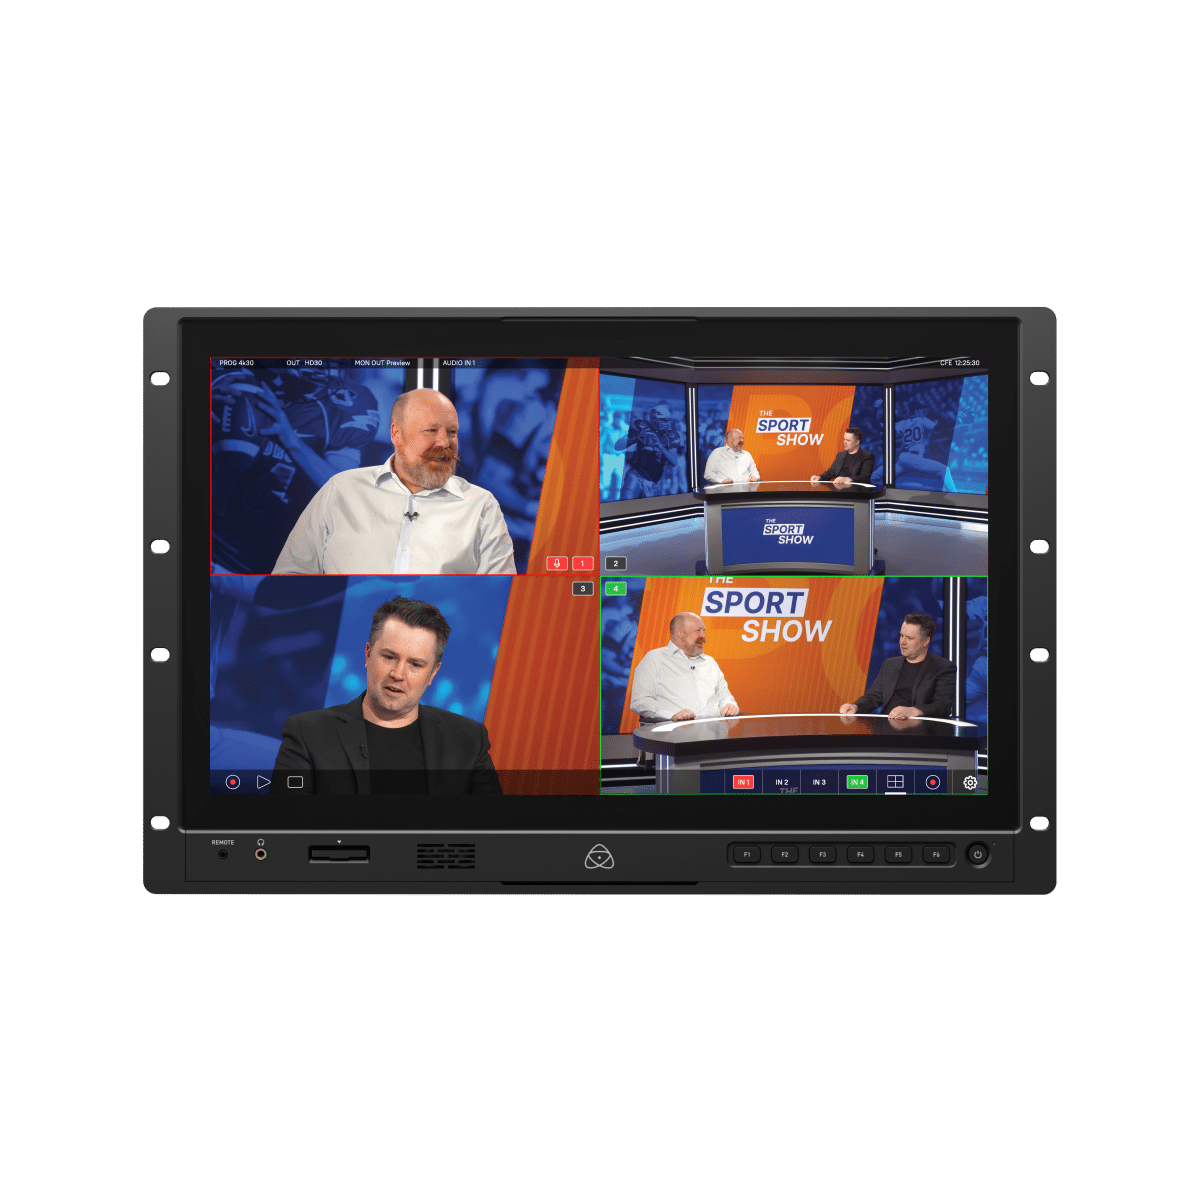
Shogun AV-19
19″ Rack 4K Monitor-Recorder-Switcher
Current Firmware
Upgrading to AtomOS 12.7.1
Improvements for Shogun AV-19:
- Bug fixes related to Multi Source
See www.atomos.com/shogun-av-certified/ for supported storage & accessories.
For more information, please refer to the Release Notes for AtomOS 12.7.1.
Firmware Update Procedure
Atomos recommends that your Shogun AV-19 is plugged into a power source before commencing the firmware update (DC power supply, USB-C PD or battery eliminator).
- Unzip the downloaded file and copy the firmware file onto a compatible, formatted CFexpress card or USB-C SSD.
- Insert or connect the media to the Shogun AV-19.
- With the Shogun AV-19 powered on, navigate to the Firmware menu and press Choose File.
- Select the file you copied to your media. The file will be copied onto the device and the unit will return to the Firmware menu.
- Press Install to begin the installation process.
- Once installation is complete, the device will restart and run the new firmware.
- To confirm the update, navigate to the main menu and open the Info tab.
Shogun AV-19 also supports Over-The-Air updates. For more information, see the Firmware tab on your device.
Previous Firmware
AtomOS 12.7.0
AtomOS 12.6.3
AtomOS 12.6.2
AtomOS 12.6.1
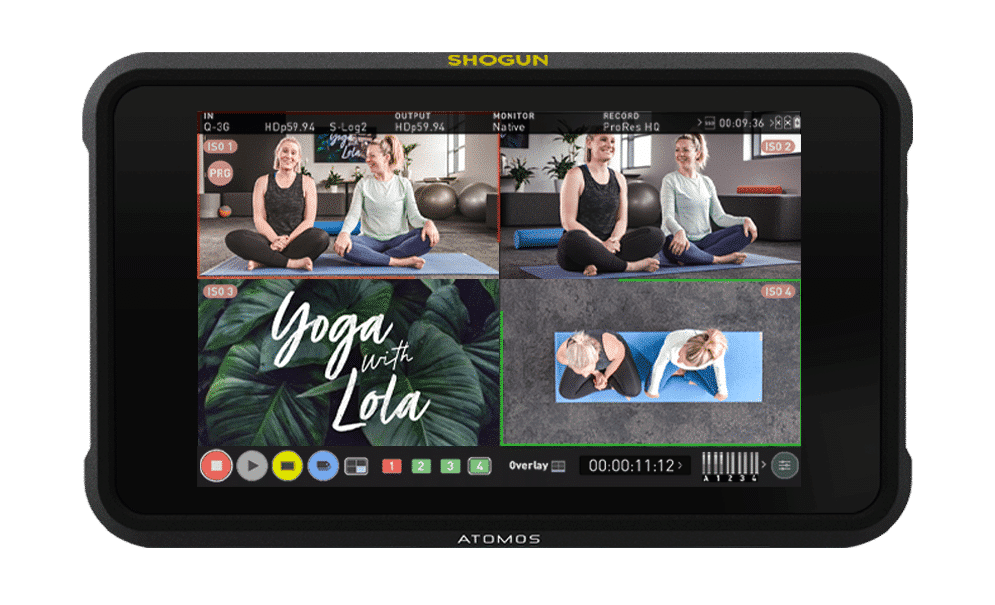
Shogun Classic
7" Shogun HDR Classic Cinema Monitor-Recorder-Switcher
Current Firmware
Fixes:
- Fix issue with real-time clock setting after 2024
Refer to the AtomOS 10.45.01 Release Notes for more information on the new features, improvements, and known limitations.
Atomos recommends that your Shogun Classic is plugged into mains power before commencing the firmware update.
- Insert a compatible, formatted SSD into the Docking Station.
- Unzip the downloaded file and copy the ATOMSCL.FW file to the root directory of the SSD.
- Eject the SSD according to operating system guidelines.
- Insert the SSD into the Shogun Classic.
- Power on the Shogun Classic and the firmware update process will begin automatically. Note: If your Shogun Classic is already powered on, you will be prompted to perform the firmware update when a drive containing new firmware is inserted.
- Once the update is complete, your Shogun Classic will power itself down.
- Power your Shogun Classic back on and the device will automatically complete the update process.
- To verify if the firmware update was successfully completed, navigate to the main menu and scroll to the info tab to confirm the version number.
Resources
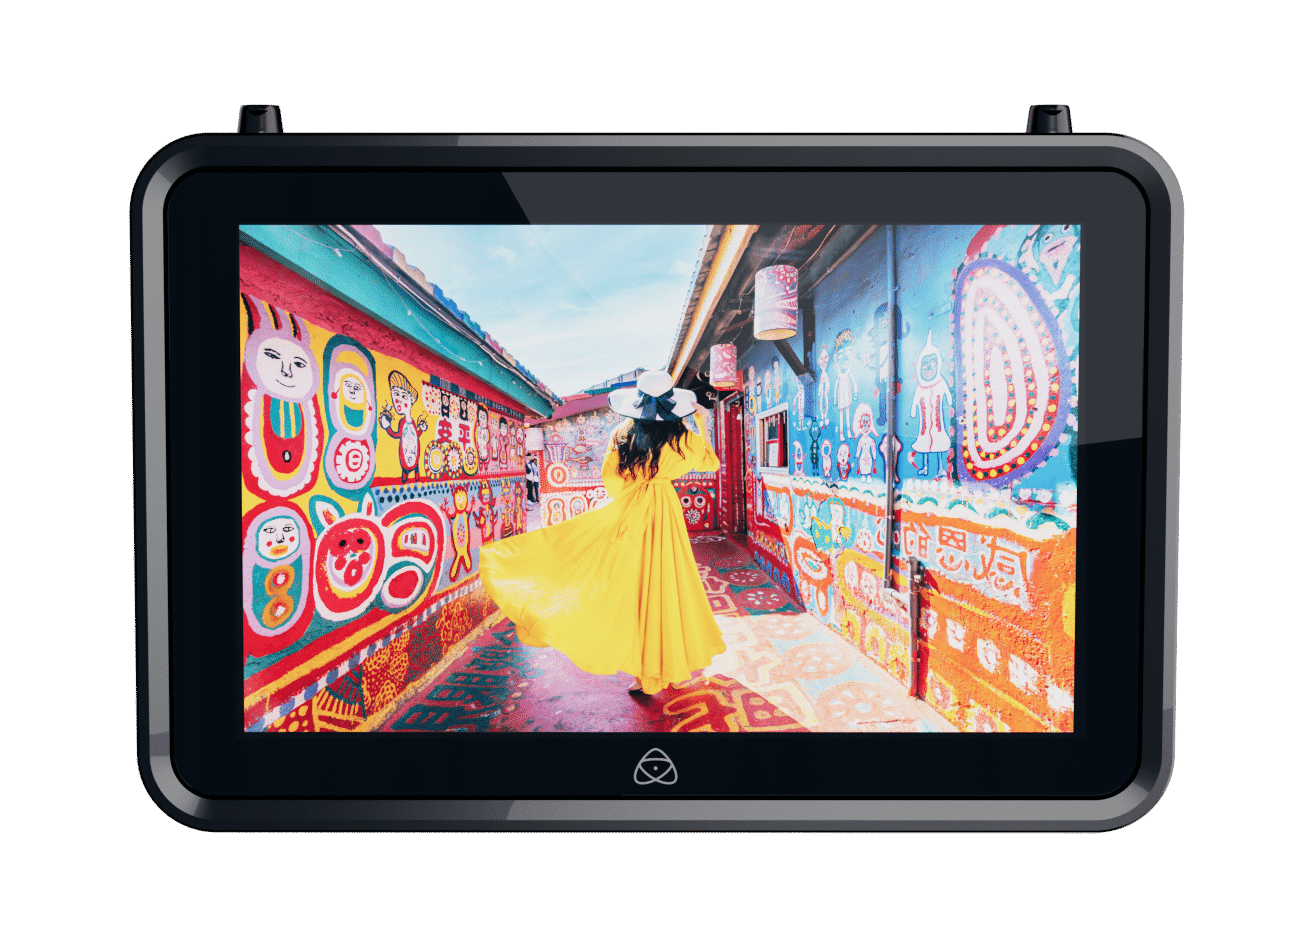
Shogun CONNECT
7” HDR Video Monitor, Recorder & Streamer
Current Firmware
Upgrading to AtomOS 11.18.00
New Features
Camera to cloud updates:
- Transition Atomos Cloud Studio customers to Mavis Cloud Hub
- Fix some reliability issues with ATOMOSphere and Frame.io uploads
For more information, please refer to the Release Notes for AtomOS 11.18.00.
Firmware Update Procedure:
Atomos recommends that your Shogun Connect is plugged into mains power before commencing the firmware update.
- Insert a compatible, formatted SSD into the Docking Station.
- Unzip the downloaded file and copy the ATOMSGC.FW file to the root directory of the SSD.
- Eject the SSD according to operating system guidelines.
- Insert the SSD into the Shogun Connect.
- Power on the Shogun Connect and the firmware update process will begin automatically.
Note: If your Shogun Connect is already powered on, you will be prompted to perform the firmware update when a drive containing new firmware is inserted. - Once the update is complete, your Shogun Connect will power itself down.
- Power your Shogun Connect back on and the device will automatically complete the update process.
- To verify if the firmware update was successfully completed, navigate to the main menu and scroll to the info tab.
For further information and troubleshooting, click here.
Previous Firmware
AtomOS 11.17.00
AtomOS 11.16.00
AtomOS 11.15.00
AtomOS 11.14.00
AtomOS 11.13.00
AtomOS 11.12.00
AtomOS 11.11.00
AtomOS 11.10.01
AtomOS 11.10.00
AtomOS 11.09.00
AtomOS 11.08.00
AtomOS 11.07.00
AtomOS 11.06.01
AtomOS 11.06.00
AtomOS 11.05.00
AtomOS 11.04.02
AtomOS 11.04.01
AtomOS 11.04.00
AtomOS 11.03.00
AtomOS 11.02.01
AtomOS 11.02.00
AtomOS 10.93.00
AtomOS 10.92.01
AtomOS 10.92.00
AtomOS 10.91.00
AtomOS 10.90.01
AtomOS 10.90.00
AtomOS 10.84.1
AtomOS 10.84.00
AtomOS 10.83.00
AtomOS 10.82.00
AtomOS 10.81.00
AtomOS 10.80.00
Resources
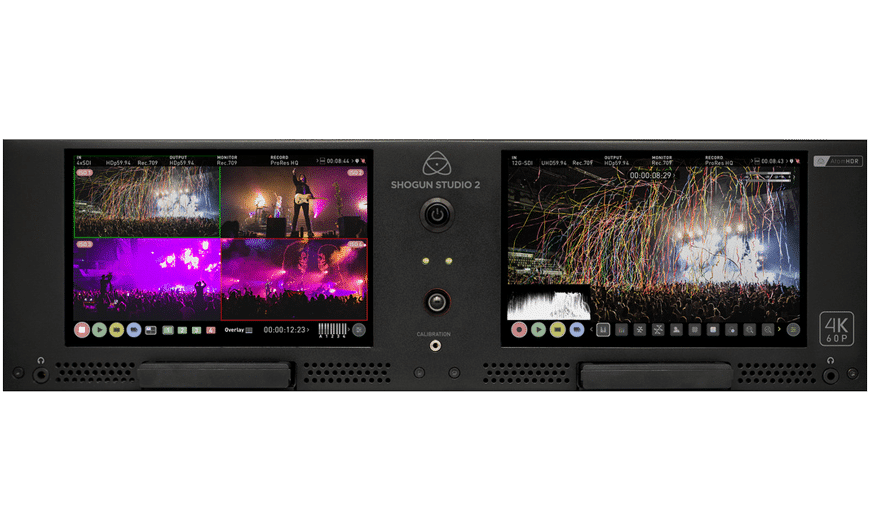
Shogun Studio 2
HDR dual monitor and 8-channel HDp60 / 2-channel 4Kp60 rackmount recorder
Firmware
Previous Firmware
Shogun Studio 2 Controller Update V3.25
AtomOS 10.43
Resources
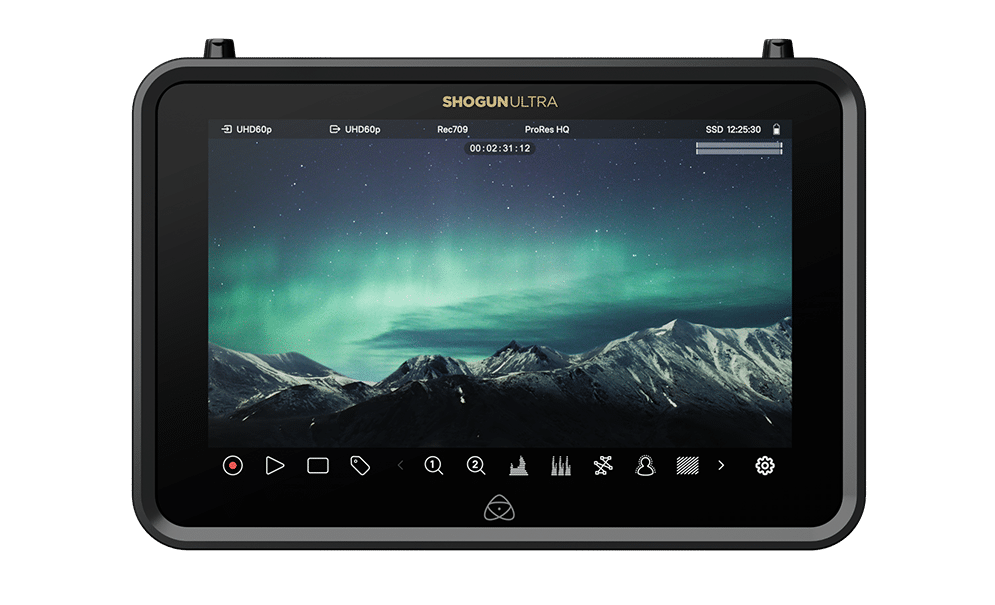
Shogun Ultra
7” HDR Video Monitor, Recorder & Streamer
Current Firmware
Upgrading to AtomOS 11.18.00
New Features
Camera to cloud updates:
- Transition Atomos Cloud Studio customers to Mavis Cloud Hub
- Fix some reliability issues with ATOMOSphere and Frame.io uploads
For more information, please refer to the Release Notes for AtomOS 11.18.00.
Firmware Update Procedure:
Atomos recommends that your Shogun Ultra is plugged into mains power before commencing the firmware update.
- Insert a compatible, formatted SSD into the Docking Station.
- Unzip the downloaded file and copy the ATOMSGU.FW file to the root directory of the SSD.
- Eject the SSD according to operating system guidelines.
- Insert the SSD into the Shogun Ultra.
- Power on the Shogun Ultra and the firmware update process will begin automatically.
Note: If your Shogun Ultra is already powered on, you will be prompted to perform the firmware update when a drive containing new firmware is inserted. - Once the update is complete, your Shogun Ultra will power itself down.
- Power your Shogun Ultra back on and the device will automatically complete the update process.
- To verify if the firmware update was successfully completed, navigate to the main menu and scroll to the info tab.
For further information and troubleshooting, click here.
Previous Firmware
AtomOS 11.17.00
AtomOS 11.16.00
AtomOS 11.15.00
AtomOS 11.14.00
AtomOS 11.13.00
AtomOS 11.12.00
AtomOS 11.11.00
AtomOS 11.10.01
AtomOS 11.10.00
AtomOS 11.09.00
AtomOS 11.08.00
AtomOS 11.07.00
AtomOS 11.06.01
AtomOS 11.06.00
AtomOS 11.05.00
AtomOS 11.04.02
AtomOS 11.04.01
AtomOS 11.04.00
AtomOS 11.03.00
AtomOS 11.02.01
AtomOS 11.02.00
Resources
Join the Atomos Community!
Sign up to get the latest Atomos news, filmmaking tips, firmware updates, and early access to new products and cloud tools.