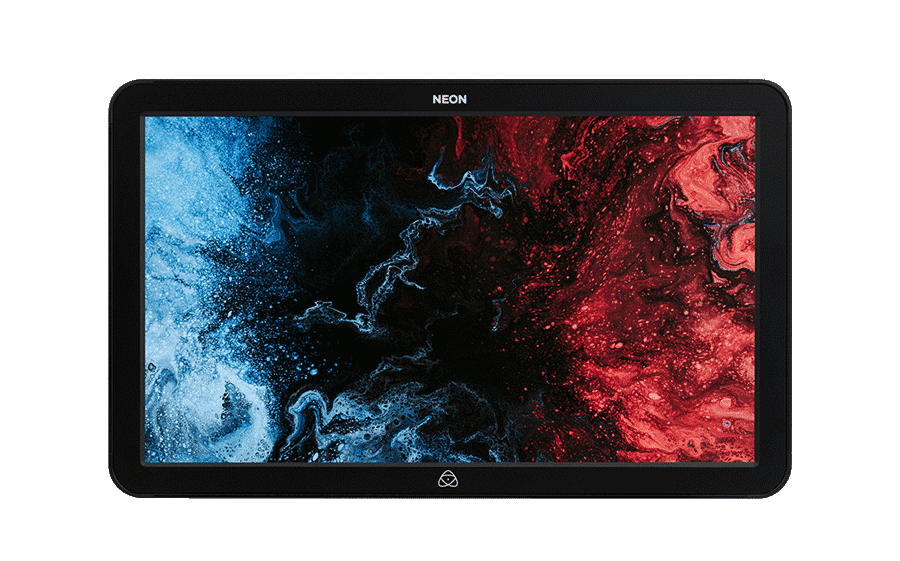
Neon 17 (Archive)
17” Precision HDR Monitor & Recorder
Current Firmware
Features:
- Added controls to the Button Bar Remote Control Unit (BBRCU)
- Selection of the active Color Space in use by pressing F1.
- Selection of the SDI or HDMI input or output, by pressing F5, (formerly the Record button).
- Button illumination is now adjustable, so that you can adjust the brightness of the backlight to match the
environment you are in.
- Enhanced SDR/REC709 color space to target measurements of below 2.3 deltaE 2000
- Calibration now provides industry-standard calibration of REC709 at 100 Nits.
- PDF Report of the REC709 calibration result available when calibration is complete.
- HDR (PQ and HLG – both in legal range) provide preview grade quality viewing.
Firmware Update Procedure:
- Unzip the ATOMNEO.zip file and copy the ATOMNEO.FW Firmware to your SSD drive.
- Ensure that your NEON is not powered on.
- Insert the SSD into the NEON.
- Power on your NEON.
- The NEON will display the progress of the upgrade on screen.
- The device will turn off and delete the firmware file after completing the installation.
For further information and troubleshooting, click here.
Previous Firmware
NEON AtomOS 10.24
NEON AtomOS 10.22
Resources
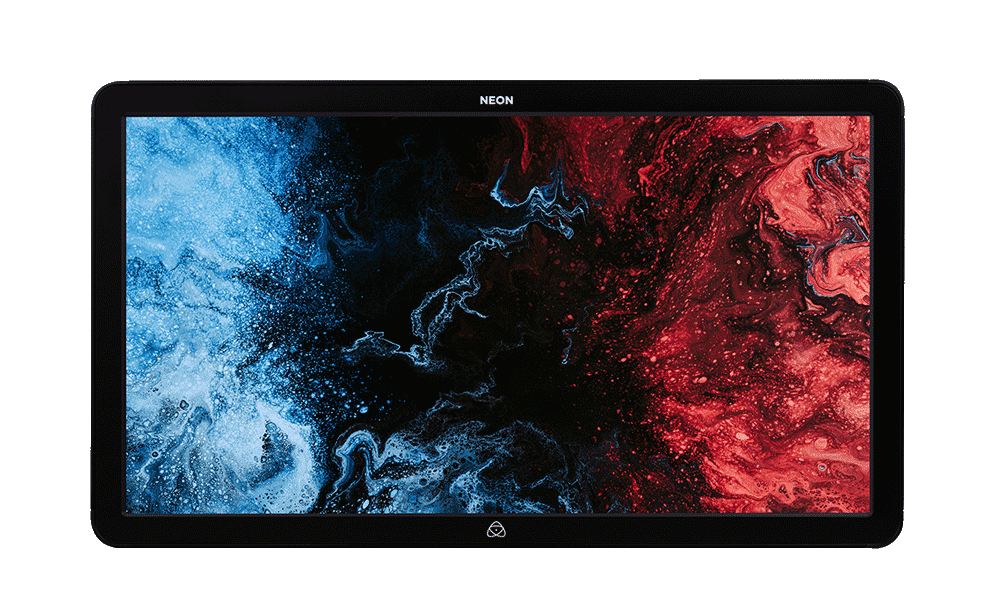
Neon 24 (Archive)
24” Precision HDR Monitor & Recorder
Current Firmware
Features:
- Added controls to the Button Bar Remote Control Unit (BBRCU)
- Selection of the active Color Space in use by pressing F1.
- Selection of the SDI or HDMI input or output, by pressing F5, (formerly the Record button).
- Button illumination is now adjustable, so that you can adjust the brightness of the backlight to match the
environment you are in. - Enhanced SDR/REC709 color space to target measurements of below 2.3 deltaE 2000
- Calibration now provides industry-standard calibration of REC709 at 100 Nits.
- PDF Report of the REC709 calibration result available when calibration is complete.
- HDR (PQ and HLG – both in legal range) provide preview grade quality viewing.
Firmware Update Procedure:
- Unzip the ATOMNEO.zip file and copy the ATOMNEO.FW Firmware to your SSD drive.
- Ensure that your NEON is not powered on.
- Insert the SSD into the NEON.
- Power on your NEON.
- The NEON will display the progress of the upgrade on screen.
- The device will turn off and delete the firmware file after completing the installation.
For further information and troubleshooting, click here.
Previous Firmware
NEON AtomOS 10.24
NEON AtomOS 10.22
Resources
Ninja Flame (Archive)
Ninja Flame Firmware
FIRMWARE UPDATE PROCEDURE
Please ensure unit is plugged into mains power before commencing firmware update
Resources
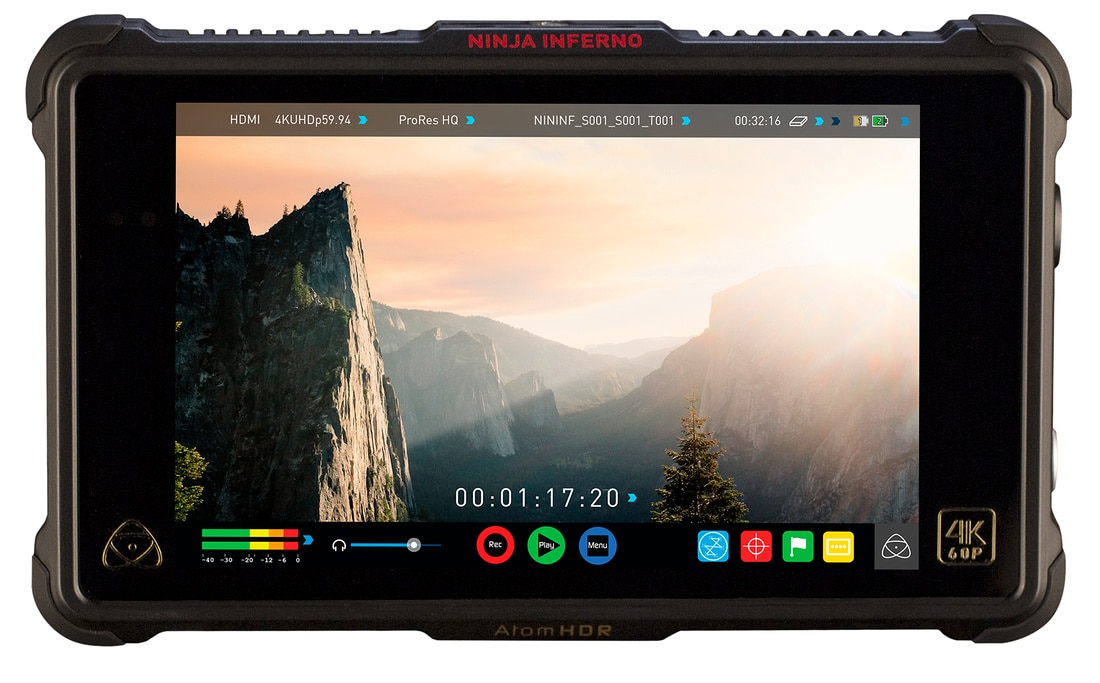
Ninja Inferno (Archive)
Ninja Inferno - 4Kp60 ProRes Monitor-Recorder
Ninja Inferno Firmware
Resources
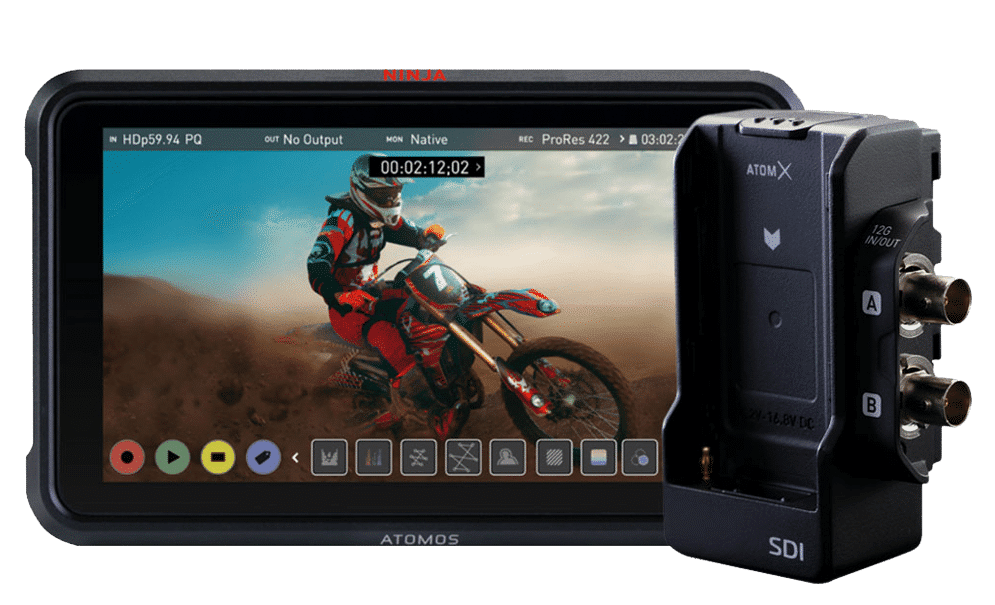
Ninja V Pro Kit (Archive)
Ninja V Pro Kit
Firmware
NINJA V PRO KIT OWNERS: Please use Ninja V firmware to update your Ninja V Pro Kit to the latest OS Versions.
For more information please refer to the Ninja V support area.
Resources
Ninja V+ Pro Kit (Archive)
4Kp120 RAW over SDI and more!
Firmware
NINJA V+ PRO KIT OWNERS: Please use Ninja V+ firmware to update your Ninja V+ Pro Kit to the latest OS Versions.
For more information please refer to the Ninja V+ support area.
Resources
Ronin (Archive)
No longer available
Ronin Firmware
Shinobi SDI (Archive)
No longer avaialble
Shinobi SDI Firmware
Resources
Shogun 7 (Archive)
7” HDR Video Monitor & Recorder
Current Firmware
Important Note: This update is only relevant for users of devices from a certain production batch. It addresses an issue that resulted in crushed white levels. If the serial number of your device starts with K11, please install this 10.43.3B release. If your Shogun 7’s serial number doesn’t start with K11, please install the regular 10.43 firmware instead.
Firmware Update Procedure: Please ensure the unit is plugged into mains power before commencing the firmware update.
Previous Firmware
AtomOS 10.43
AtomOS 10.42
Resources

Shogun Flame (Archive)
No longer available
Shogun Inferno (Archive)
Shogun Inferno Firmware
Resources

Shogun Original (Archive)
7” HDR Video Monitor, Recorder
Shogun Firmware
Resources
Shogun Studio (Archive)
Shogun Studio Firmware
Previous Firmware
Shogun Studio Controller Update V1.16
Resources
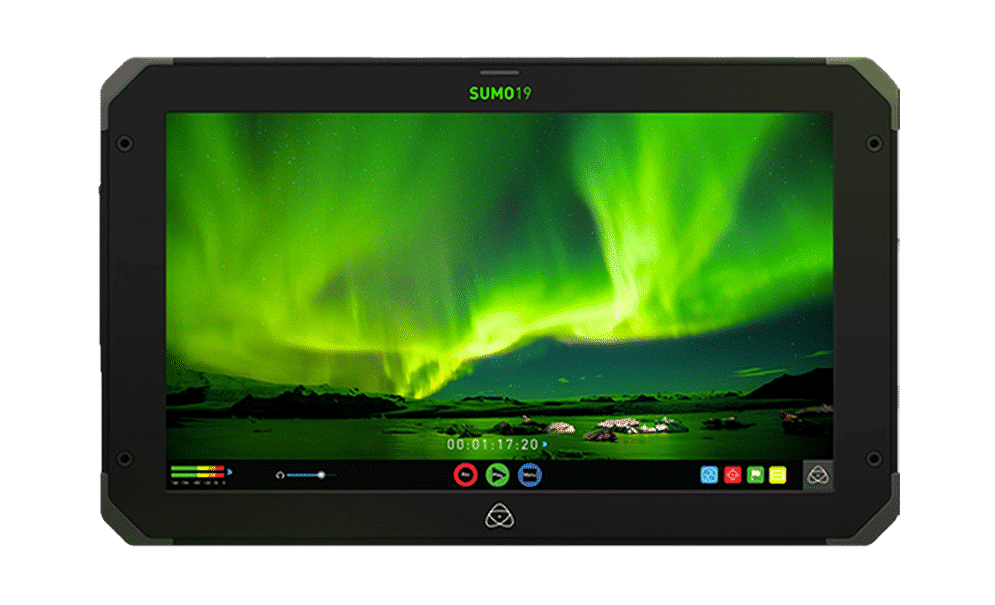
Sumo 19 (Archive)
19" HDR Video Monitor & Recorder
Firmware
Firmware Update Procedure: Please ensure unit is plugged into mains power before commencing firmware update.
Previous Firmware
Sumo AtomOS 9.2
Resources
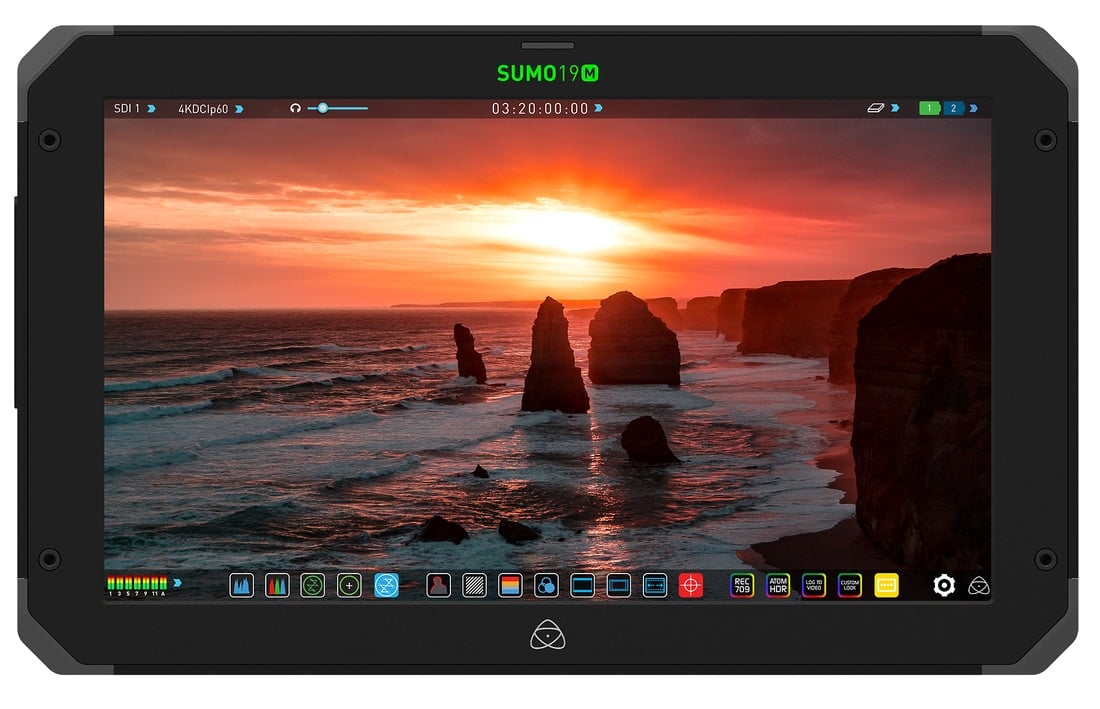
Sumo 19M (Archive)
No longer available
Sumo 19M Firmware
Firmware for Atomos Sumo 19M (monitor only).
Resources
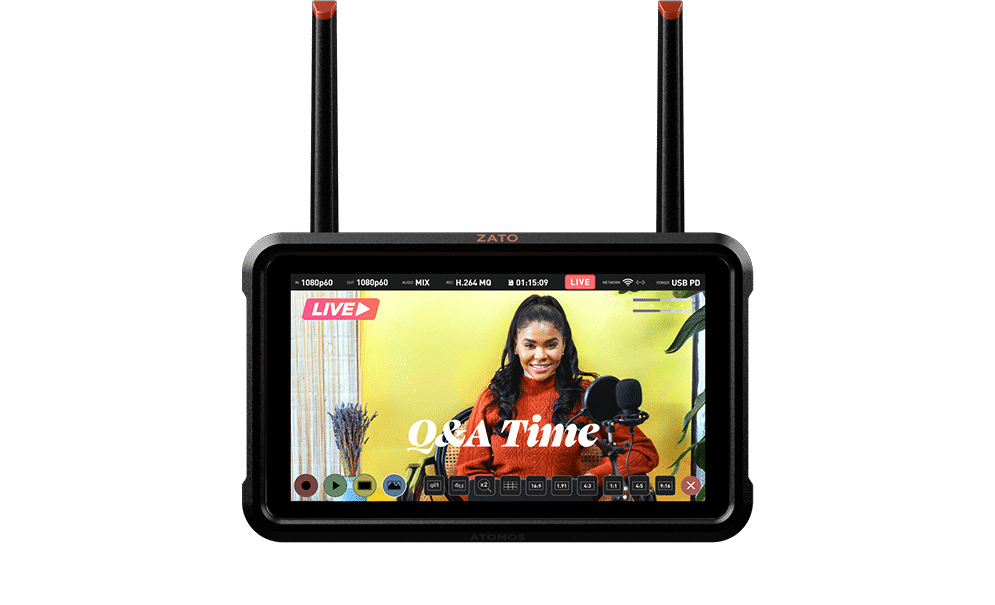
Zato CONNECT (Archive)
Current Firmware
Features:
-
Support for the newly introduced Atomos Cloud Studio Subscription Tiers
-
Changes to Frame.io C2C Implementation
- Changes to RTMP Streaming Implementation
Refer to the AtomOS Lite 10.05.00 Release Notes for more information on the features, improvements, and known limitations.
Firmware Update Procedure:
Atomos recommends that your Zato CONNECT is plugged into a USB-C PD power adapter (>20W) or is connected to a freshly charged battery before commencing the firmware update. If you already own a Ninja V or V+, you can also use the NP-F battery eliminator and power supply shipping with either of them, as it’s also compatible with Zato CONNECT.
- Factory Reset your Zato CONNECT via the “Reset Device” button in the About Device menu within the General tab to prepare it for the new update.
- Format an SD Card in exFAT or FAT32 via a computer or the Zato CONNECT. You can find more information on compatible SD Cards via this link.
- Download the latest version of AtomOS Lite from: https://my.atomos.com.
- Unzip the compressed package and move the .BIN file to the SD Card’s root directory.
- Ensure that your Zato CONNECT is powered off.
- Insert the SD Card into the Zato CONNECT’s SD Card slot.
- Connect a fully charged battery or USB PD power adapter (>20W) to the Zato CONNECT.
- Press the power button to reboot.
- Zato will go through several update screens and will initially show the Atomos logo without a progress bar.
- The device will reboot several times throughout the update process and will reboot after the installation is complete.
- After the Zato reboots, you’ll be presented with a welcome message, detailing the new features introduced in this release.
Note: Factory resetting your device before or after updating your Zato CONNECT is mandatory to ensure that all the new features introduced in this release work properly.
Previous Firmware
AtomOS Lite 10.04.00
AtomOS Lite 10.03.01
AtomOS Lite 10.02.01
AtomOS Lite 10.01.01
Resources
Join the Atomos Community!
Sign up to get the latest Atomos news, filmmaking tips, firmware updates, and early access to new products and cloud tools.